
On "My Sessions" you'll be able to view your past and upcoming sessions, edit and change the files and information submitted.
In this article, you'll learn how to:
1. View and edit your sessions - Unlimited users
2. View and edit your files - Unlimited users
View your sessions - Unlimited users
1. Go to My Sessions

2. Click the "Upcoming" and "Previous" tabs to check your sessions' details 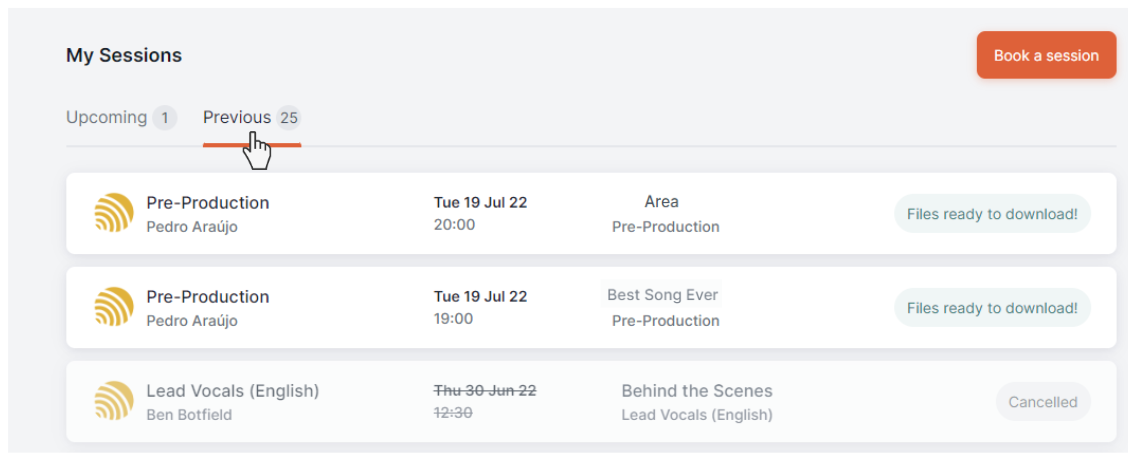
2. All sessions will show a status label in the same tab:

Edit your sessions - Unlimited users
1. From your Sessions area, click on the session you wish to edit. A tab will pop up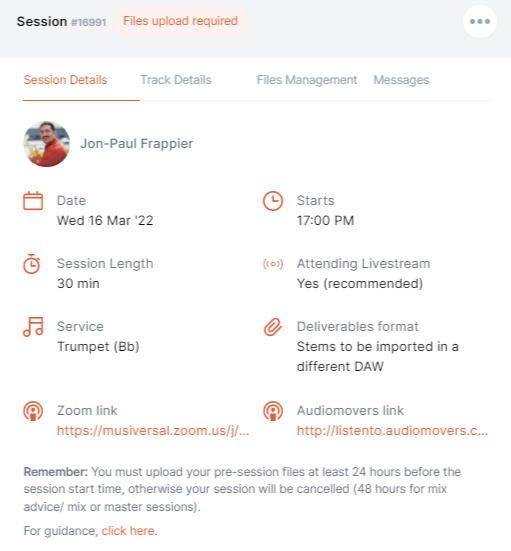
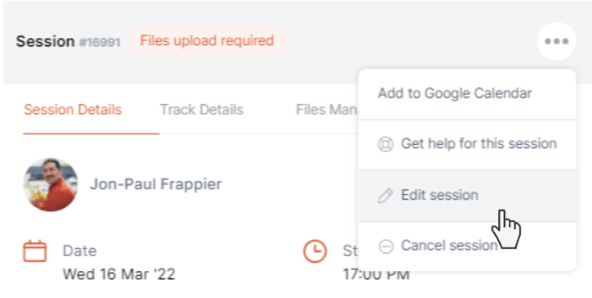
2. Click on the upper right corner ⇒ Hit "Edit session"
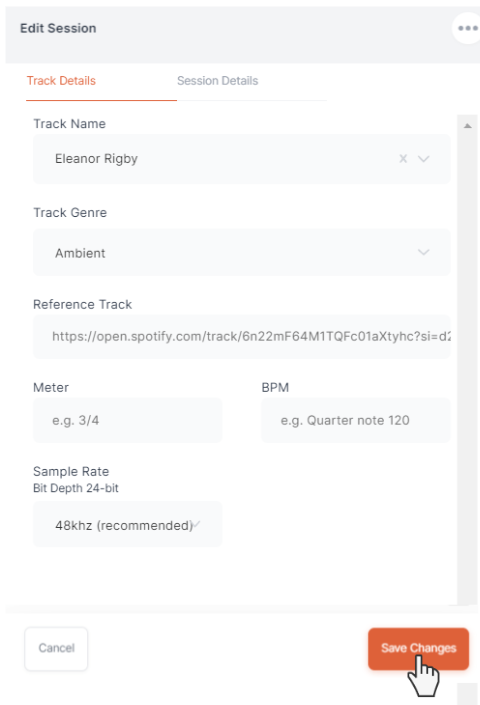
3. Edit or update the details on the corresponding fields
4. Save changes at the bottom left
⬆️
View and edit files - Unlimited users
Find out how to upload files here.
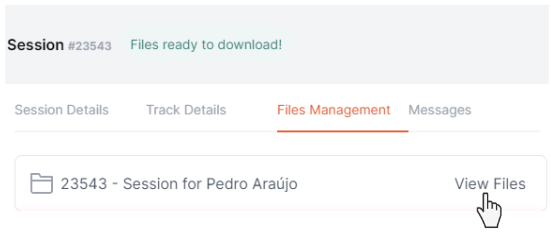
1. Go to "Files Management" in the session's details
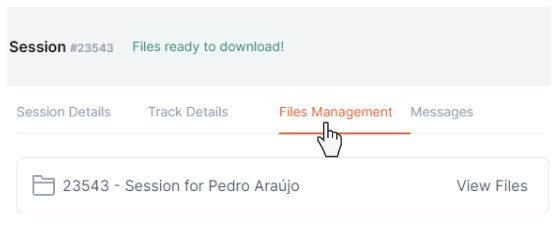
2. Select "View Files"
3. Select "Delete all pre-session files" to delete files
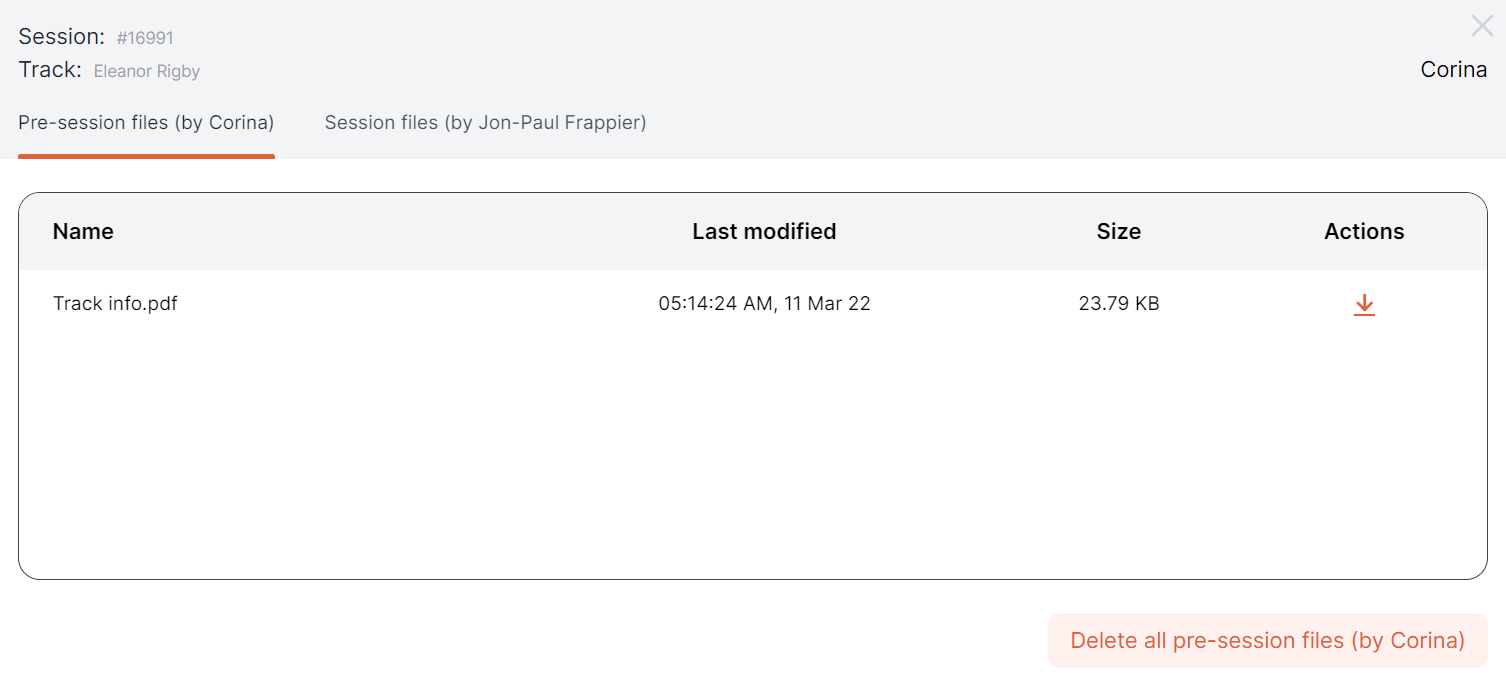
4. Go back to the Files Management area to re-upload or add files.
Need help? Contact us to get personalized Support.